Spring Favorites
Salads
Fattoush Salad
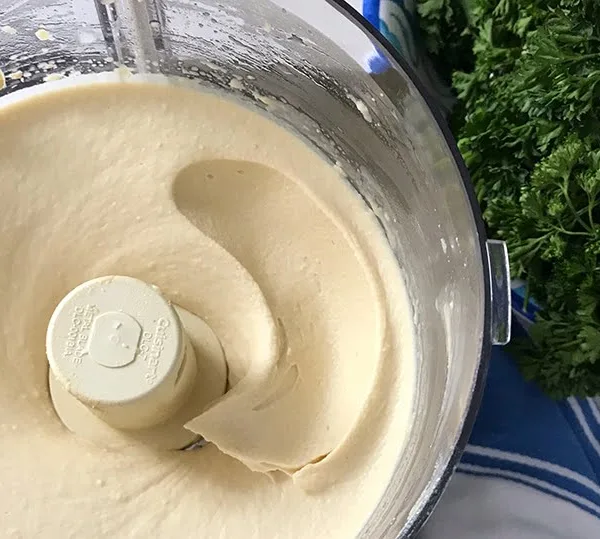
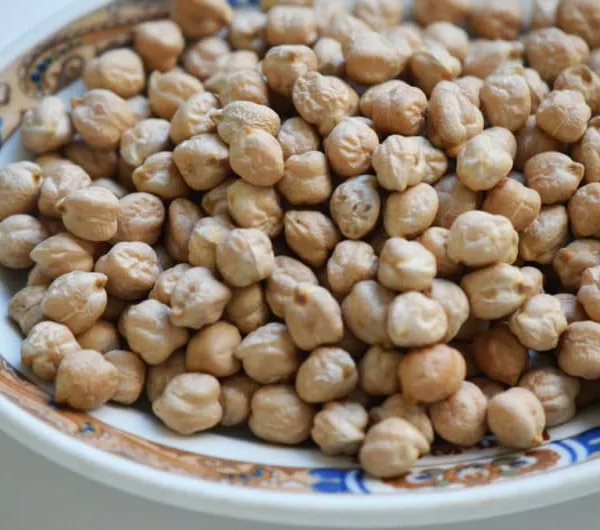
Mezze Recipes
Homemade Hummus
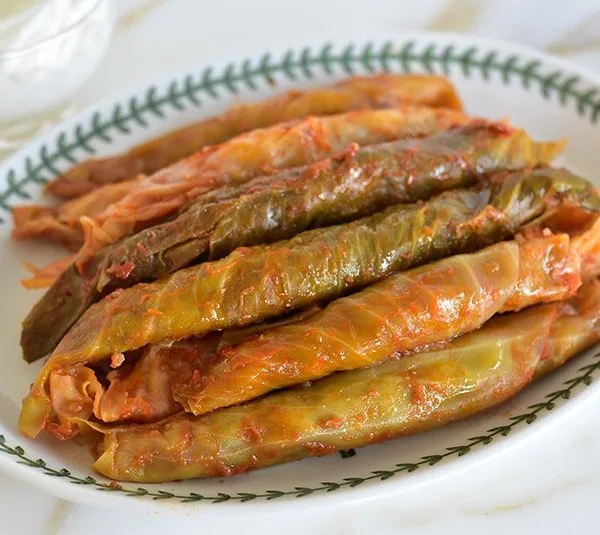
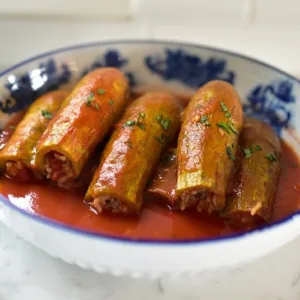
Main Dishes
Stuffed Cabbage Rolls
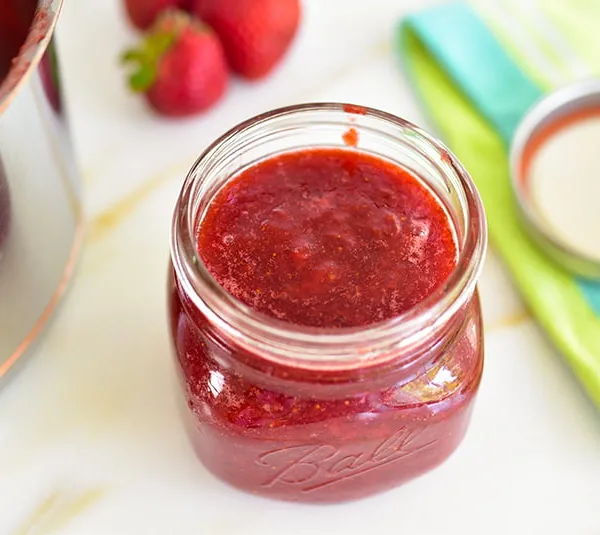
Summer
Easy Strawberry Jam
Sauces & Condiments
Toum Recipe
New to cooking Lebanese?
Here are some simple recipes to get started.
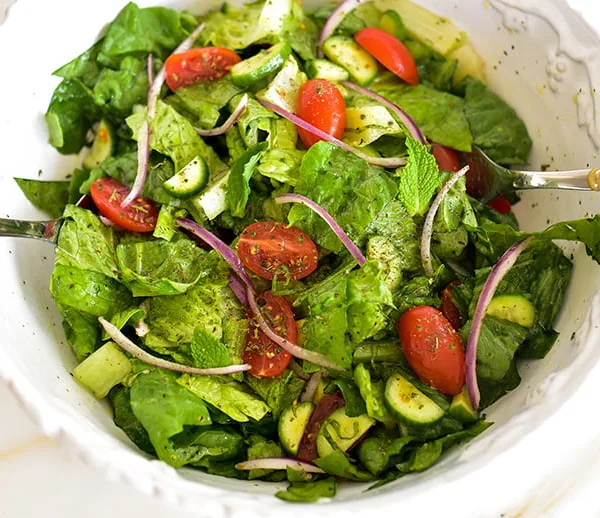
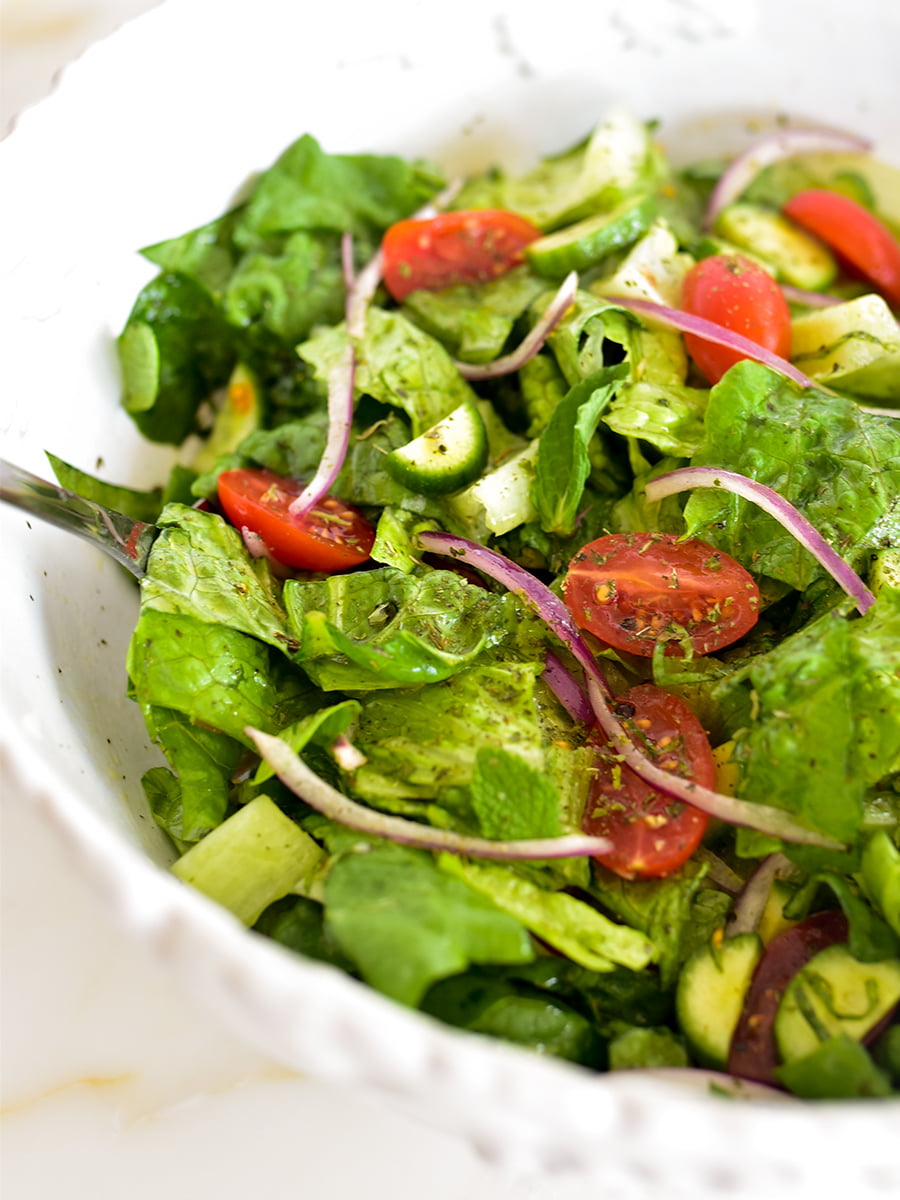
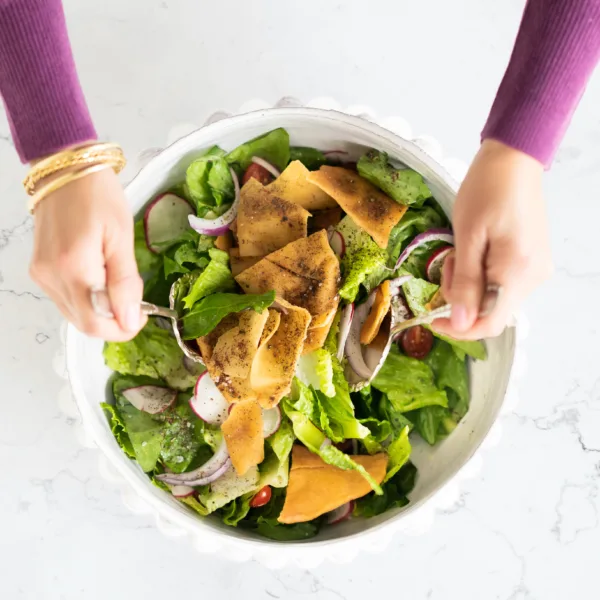
Salads
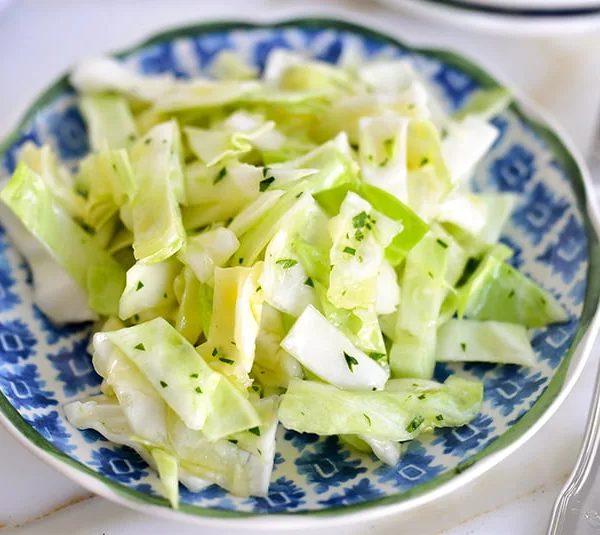
Lebanese Salad (Salata)
Ingredients
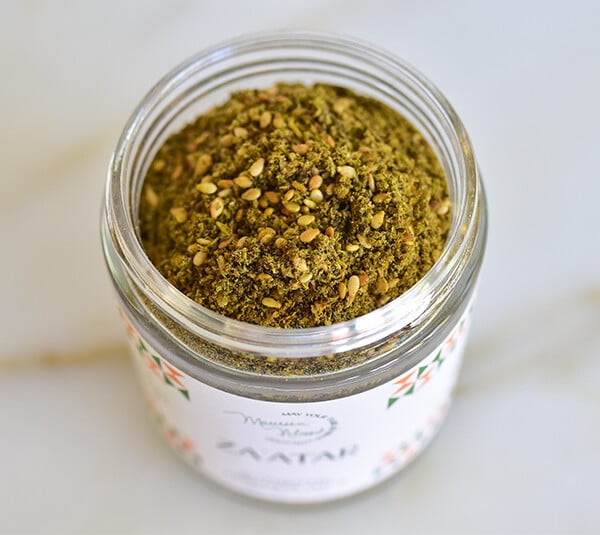
What is Za’atar, and How to Cook with it
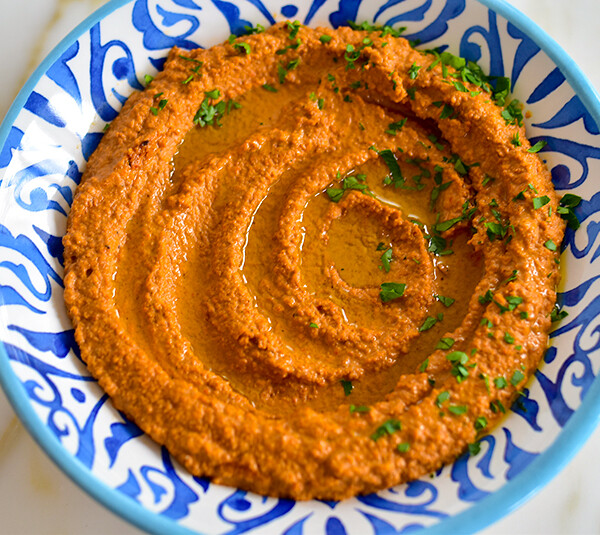
Vegetarian Recipes
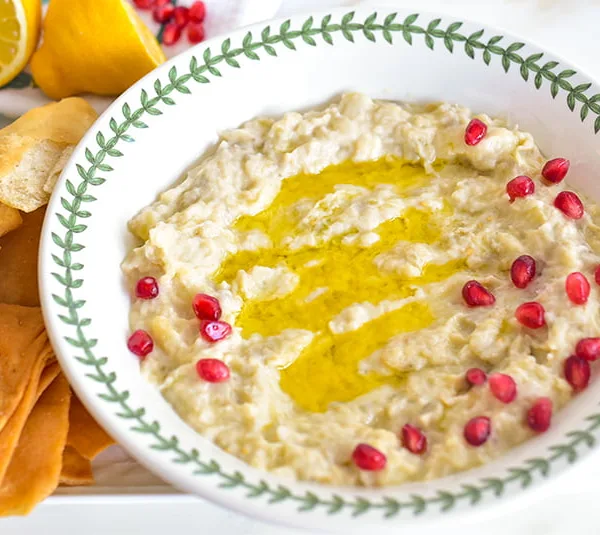
Lebanese Baba Ganoush

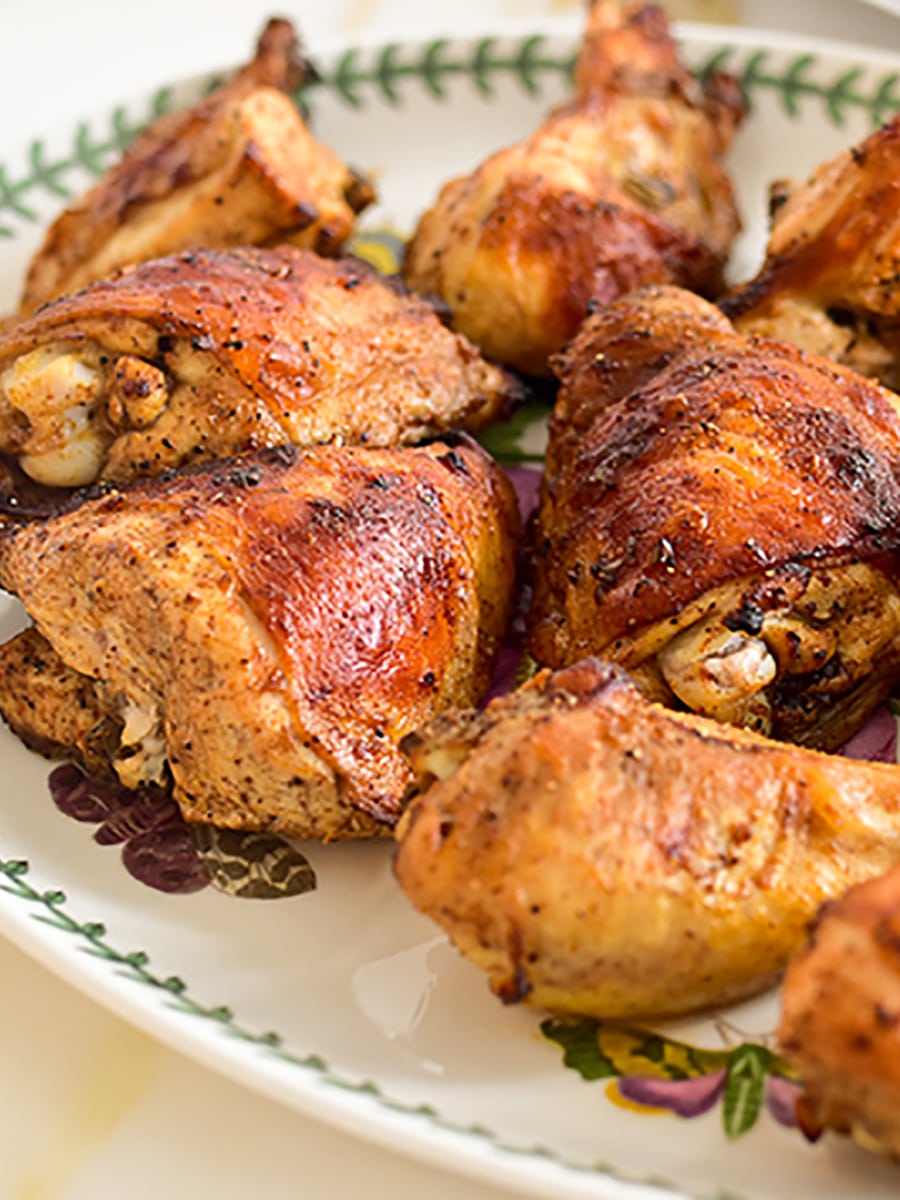
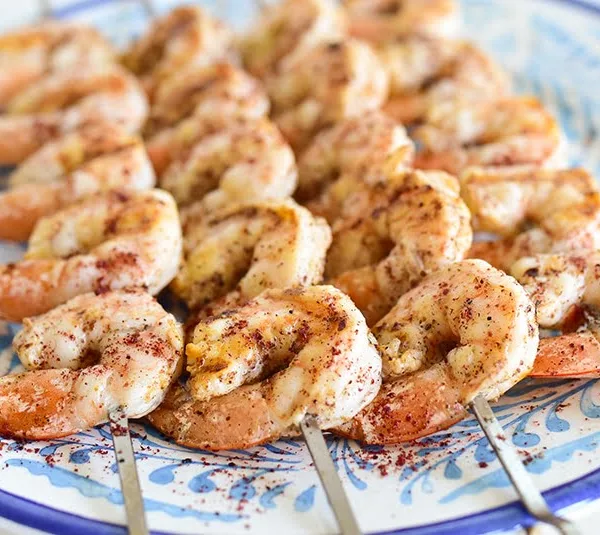
Kebabs
Shish Tawook
Kibbeh Recipes
Lebanese Baked Kibbeh

Maureen Abood
Welcome, Habibi!
I’m so glad you’re here! You’ll find among these pages the fresh and classic Lebanese recipes and flavors we can’t get enough of. My mission is to share my tried and true yet simplified recipes ~ and to help our Lebanese food-loving community keep culinary traditions alive and on the table. What recipes are you looking for? Yalla! Let me know!
How-To
Cooking and baking tasks, simplified. Ahhh, that’s better.
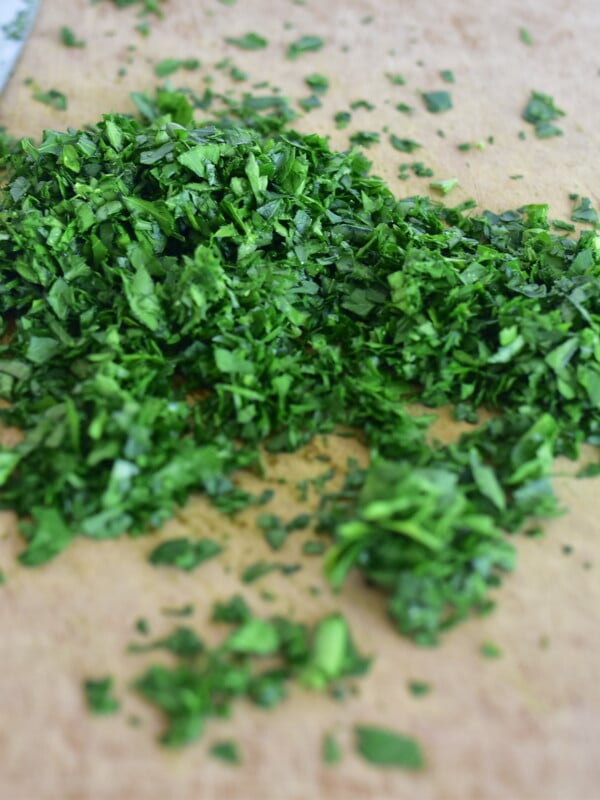
How-To
How to chop parsley
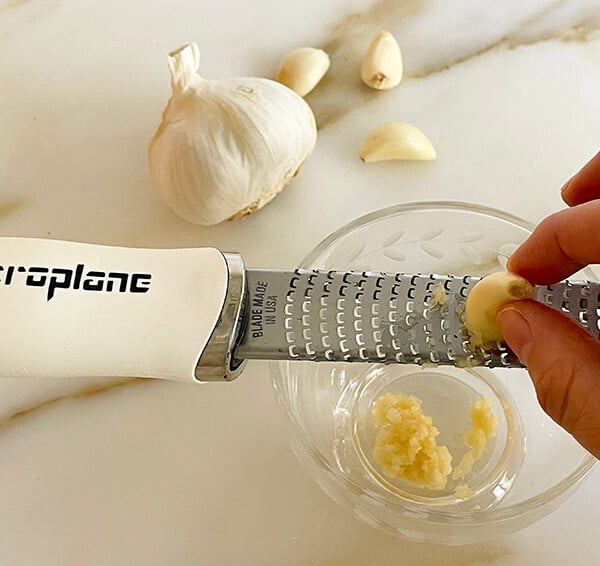
How-To
How to mince garlic
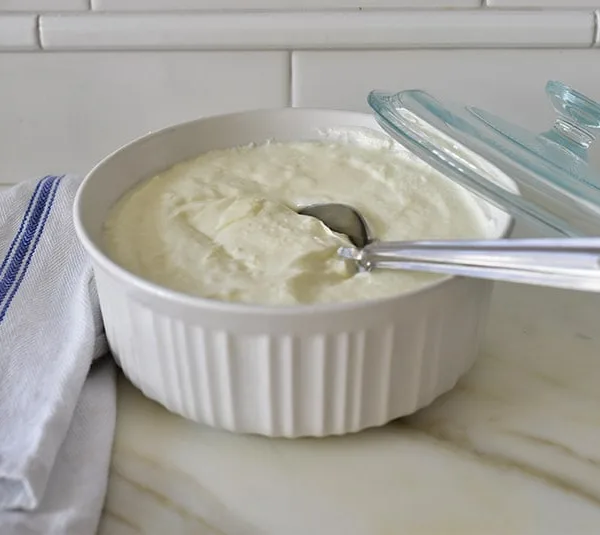
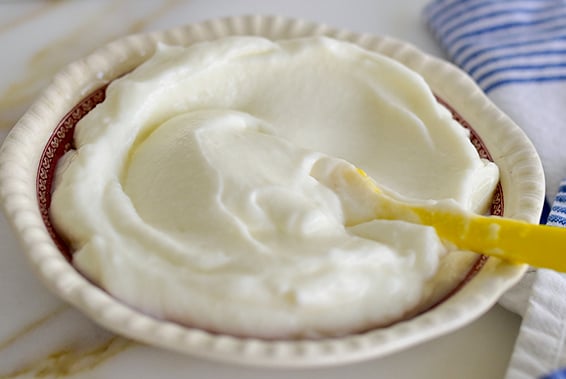
Lebanese Recipes
How to Make Yogurt
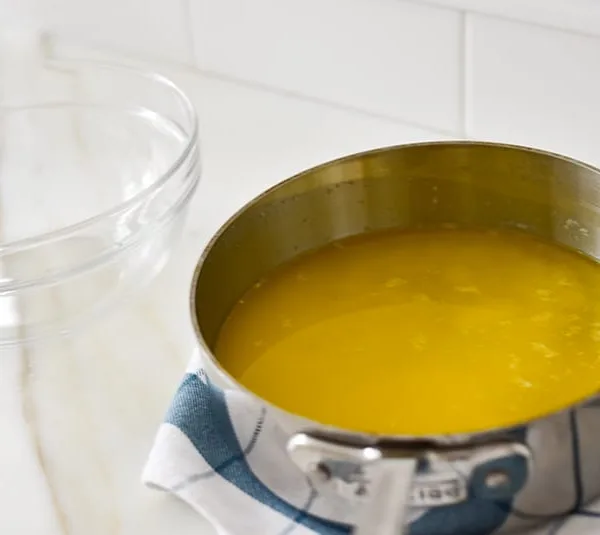
How-To
How to clarify butter
Lebanese Baking
The world of Lebanese baking is so special!
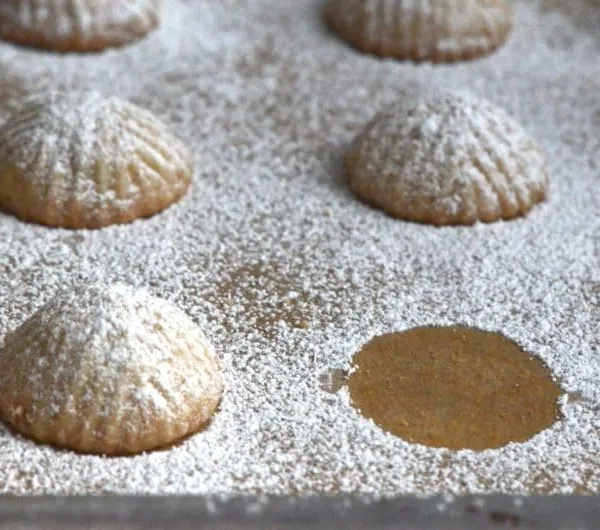
Ma’amoul Cookies
Lebanese Mamoul Cookies

Cookie Recipes
Lebanese Kaak Recipe

Cookie Recipes
Lebanese Butter Cookies, or Graybeh
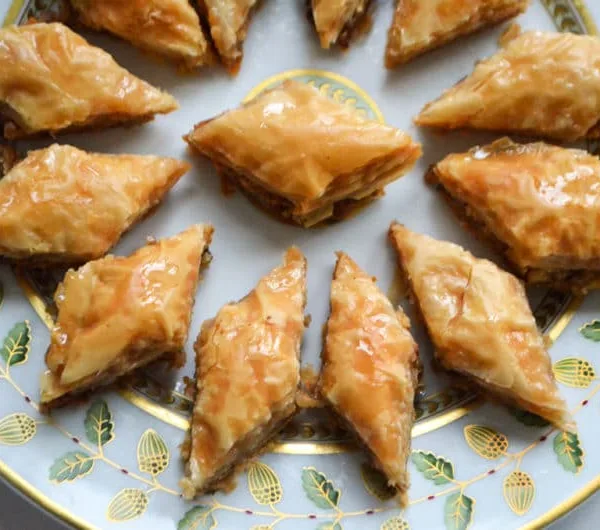
Baklawa Recipes
Lebanese Baklawa
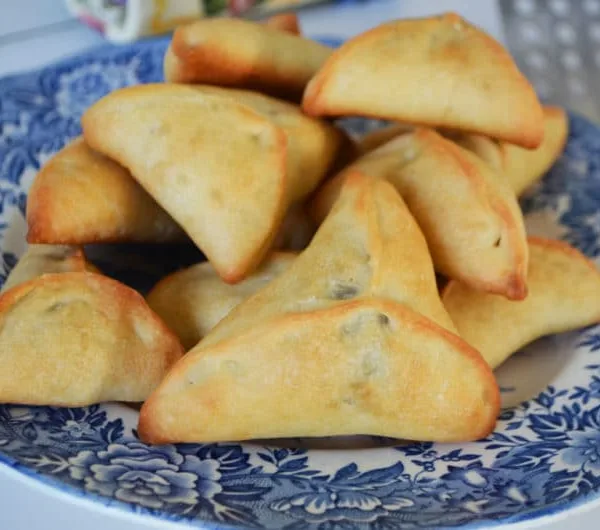
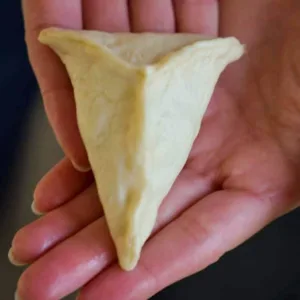
Fatayer Recipes
Lebanese Spinach Pie (Fatayer Recipe)
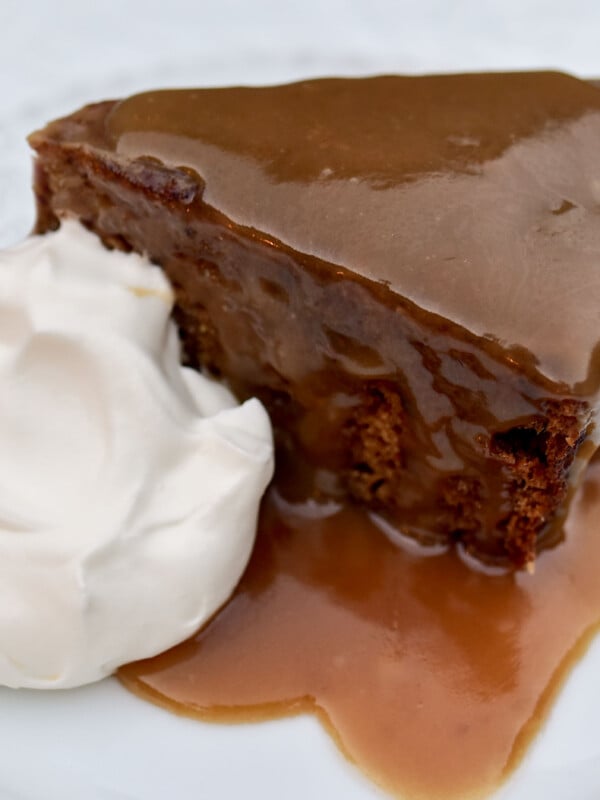
Desserts
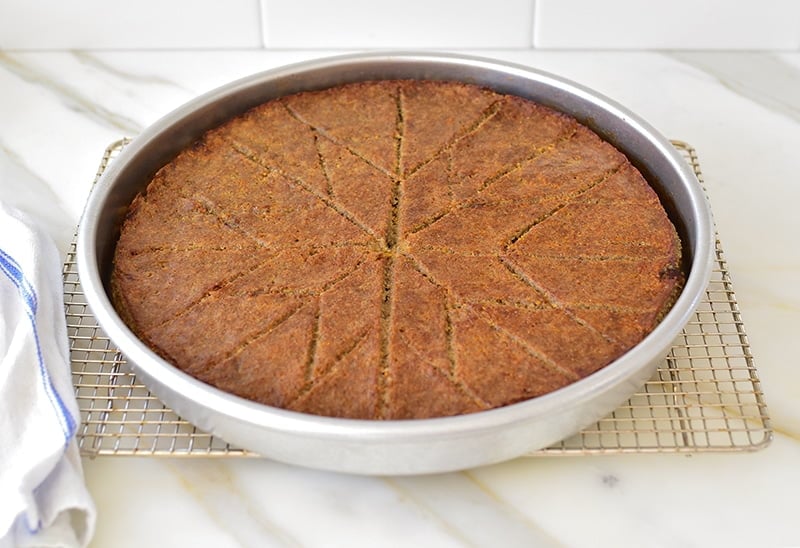
Sticky Date Cake
Vegetarian Favorites


“A terrific and important book!”
Anthony bourdain
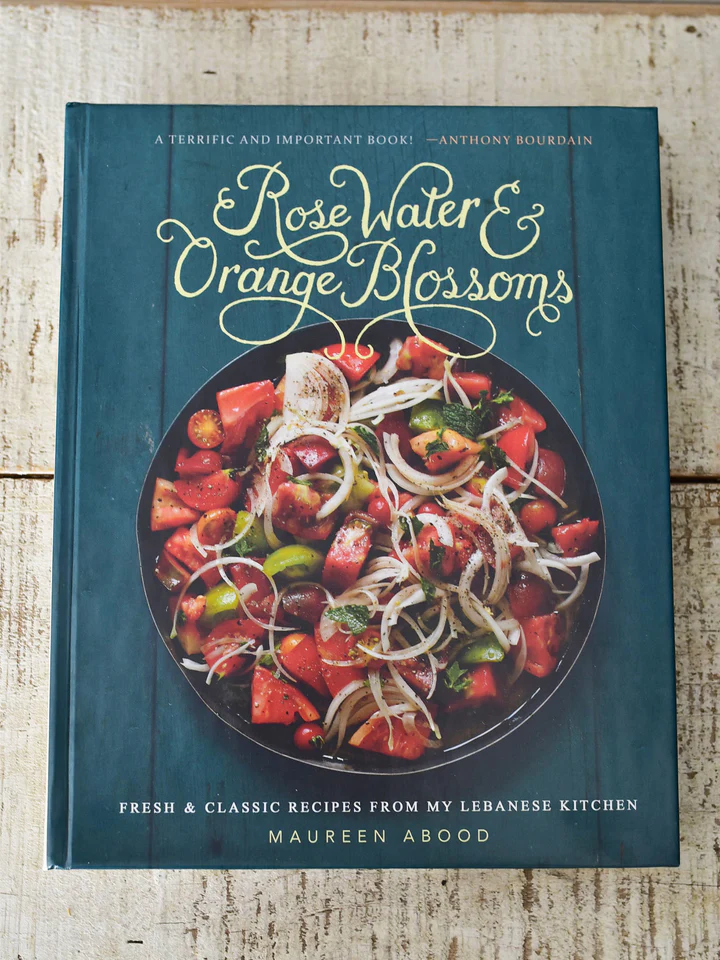
Get My Cookbook
Rose Water & Orange Blossoms
Beloved, time-honored Lebanese recipes, photos, and stories fill this book. I’ve been humbled by the ongoing overwhelming reception my book has received, especially because that means so many of us share the same passion for these recipes, stories, and gathering around the table together.
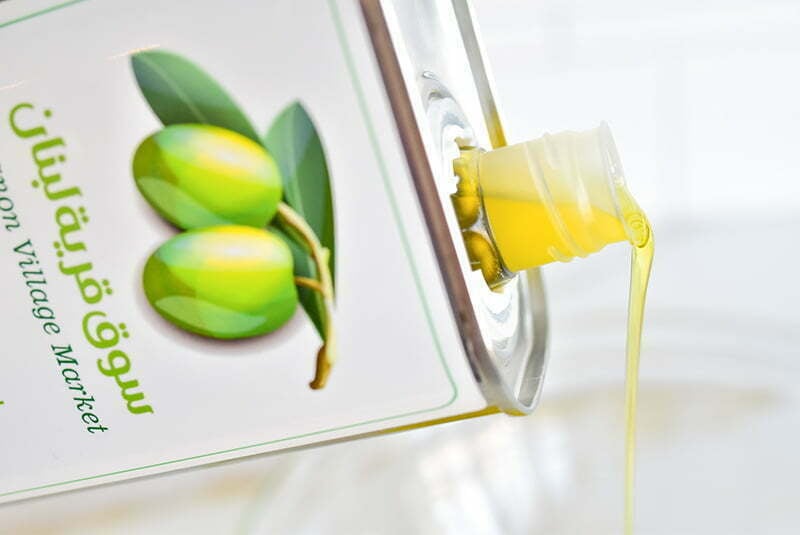
Lebanese
Extra Virgin Olive Oil
My sister Peggy Abood makes a labor of love to bring us the finest Extra Virgin Olive Oils from family producers in Lebanon. They harvest and mill on small farms, where natural farming, flavor, and quality are priorities.
Thank you for supporting and enjoying world-class Extra Virgin Olive Oil from Lebanon!