This post may contain affiliate links. Please read our disclosure policy.
Clarified butter is simply butter with the solids removed. Learn how to clarify butter with ease, an ingredient used in many pastry and baking recipes.
I have become such close friends with butter over the last years that this post makes me feel right at home in butter’s lovin’ arms. I didn’t used to be so free and easy about butter. In fact, I shunned it for a good couple of years, replacing it wherever possible with a healthier fat, or no fat at all. Then I went to culinary school, and all bets were off! It didn’t take but one lesson in clarified butter, or in buttercream, or another in finishing sauces to their silkiest, to get me to embrace butter perhaps more than one should. It has been said that an embrace lasting 30 seconds or longer makes a difference in our well-being, so I’ll go ahead and count my butter-embrace among those….
What is clarified butter?
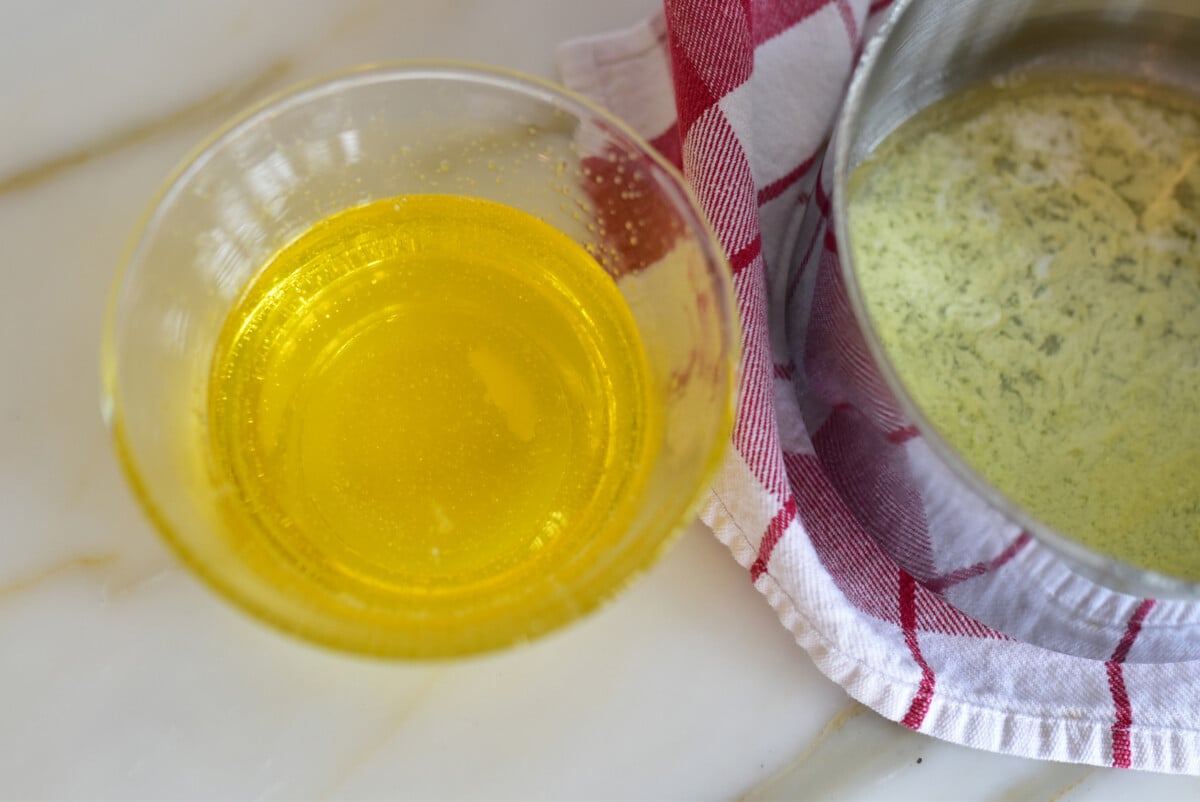
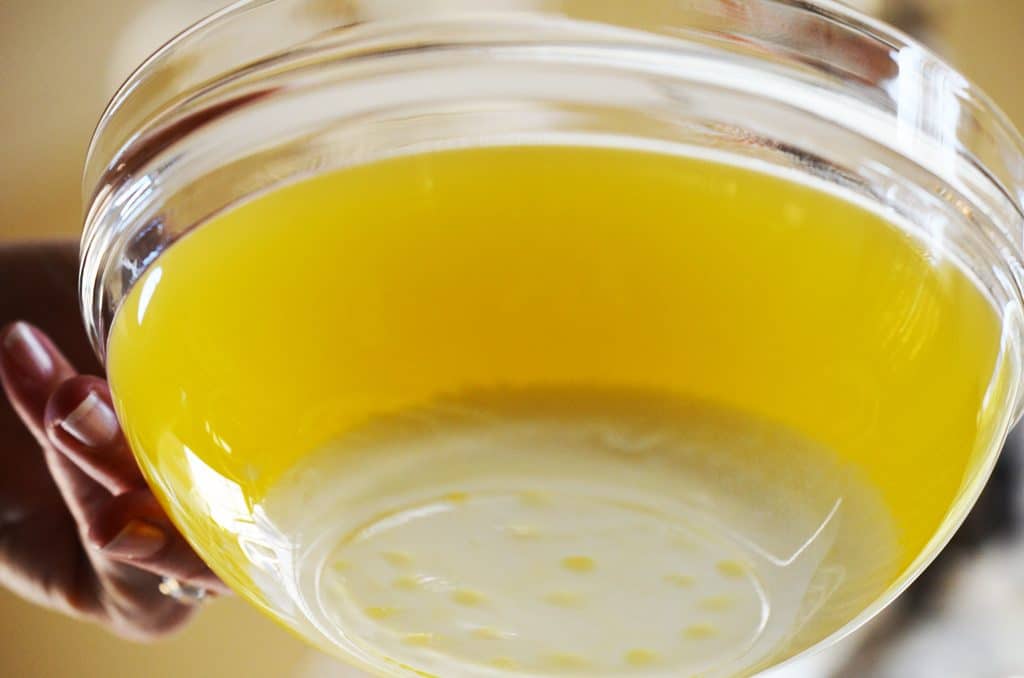
Clarified butter is simply butterfat with the milk solids and water removed. The remaining pure butterfat is translucent gold in color.
What butter is best to clarify?
After clarifying countless pounds of butter over my career, I always opt for European-style butter, or cultured butter, to clarify. The flavor and aroma of European butters are superior to other standard butter, and it clarifies incredibly easily because its milk solids settle easily and naturally, when heated properly, at the bottom of the pan. Standard butters create foamy solids that rise to the surface during the clarifying process, and these are difficult to skim away entirely.
Is clarified butter the same thing as ghee?
They are very similar, but clarified butter is always made with pure butter, and ghee may be butter ghee (clarified, with milk proteins removed), or vegetable oil ghee.
Can You Clarify Salted Butter?
Butter of any kind, salted or unsalted butter, may be clarified using the same method. The flavor will be slightly different, with salted butter retaining its light salty flavor.
How to make Clarified Butter, step by step
Scroll down to the recipe card to see my video tutorial!
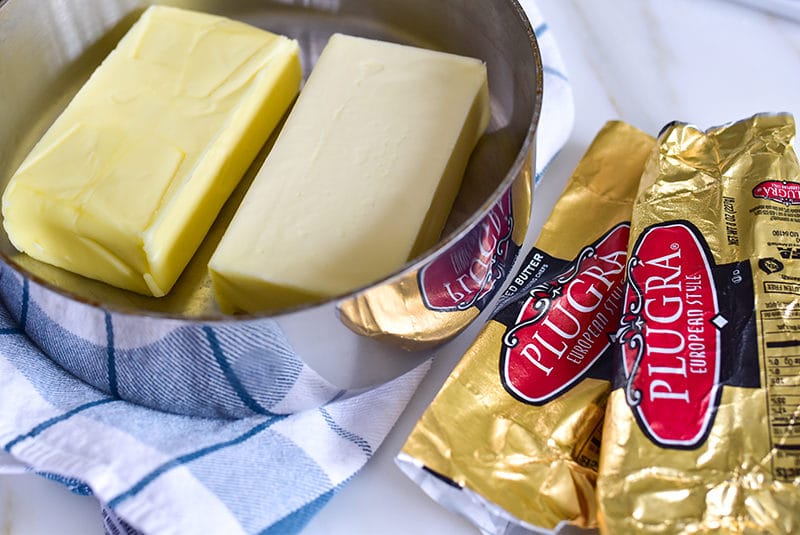
Step 1. Select the type of butter and quantity. European or cultured butter is in many ways the best butter to clarify. It clarifies far more easily than standard butter (or “American butter” such as Land ‘o Lakes standard butter), and the flavor of European or cultured butter is incredibly delicious! It imparts a more intense flavor than standard butter. Types of butter in the European style, or cultured butter, include Plugrà and Kerrygold. Larger quantities of butter are easier to clarify than smaller quantities, because they yield more butterfat than milk solids. I like to clarify a big batch of at least one pound of butter at a time.
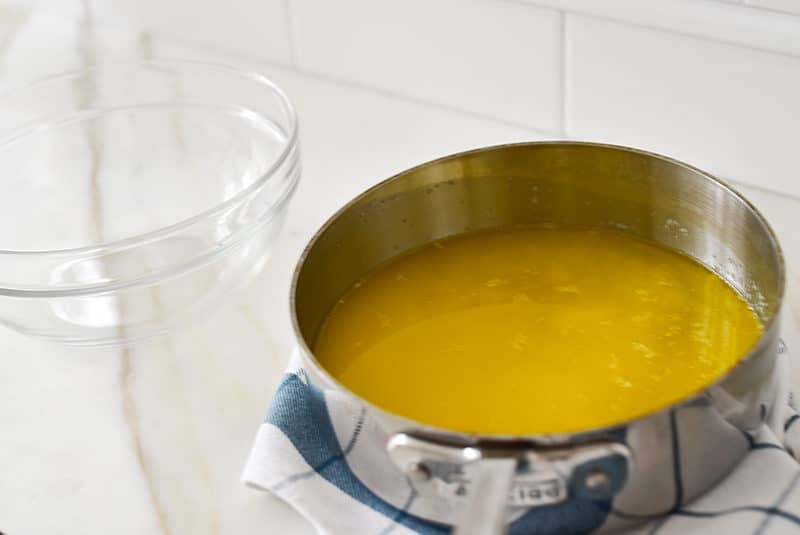
Step 2. In a medium saucepan, melt butter over the lowest temperature your burner allows. Do not stir the butter or move the pan while it melts. Perhaps the most challenging aspect of making clarified butter is the patience it takes to allow the butter to melt very very slowly! Leave the butter alone to melt slowly, about 20 minutes for one pound on very low heat. Higher heat will cause the milk solids to float, and our goal is to keep them at the bottom of the pan so the butter fat can be easily separated.
Step 3. Separate the butterfat liquid and the milk solids in one of the following ways:
To clarify European or cultured butter:
The pour-off method
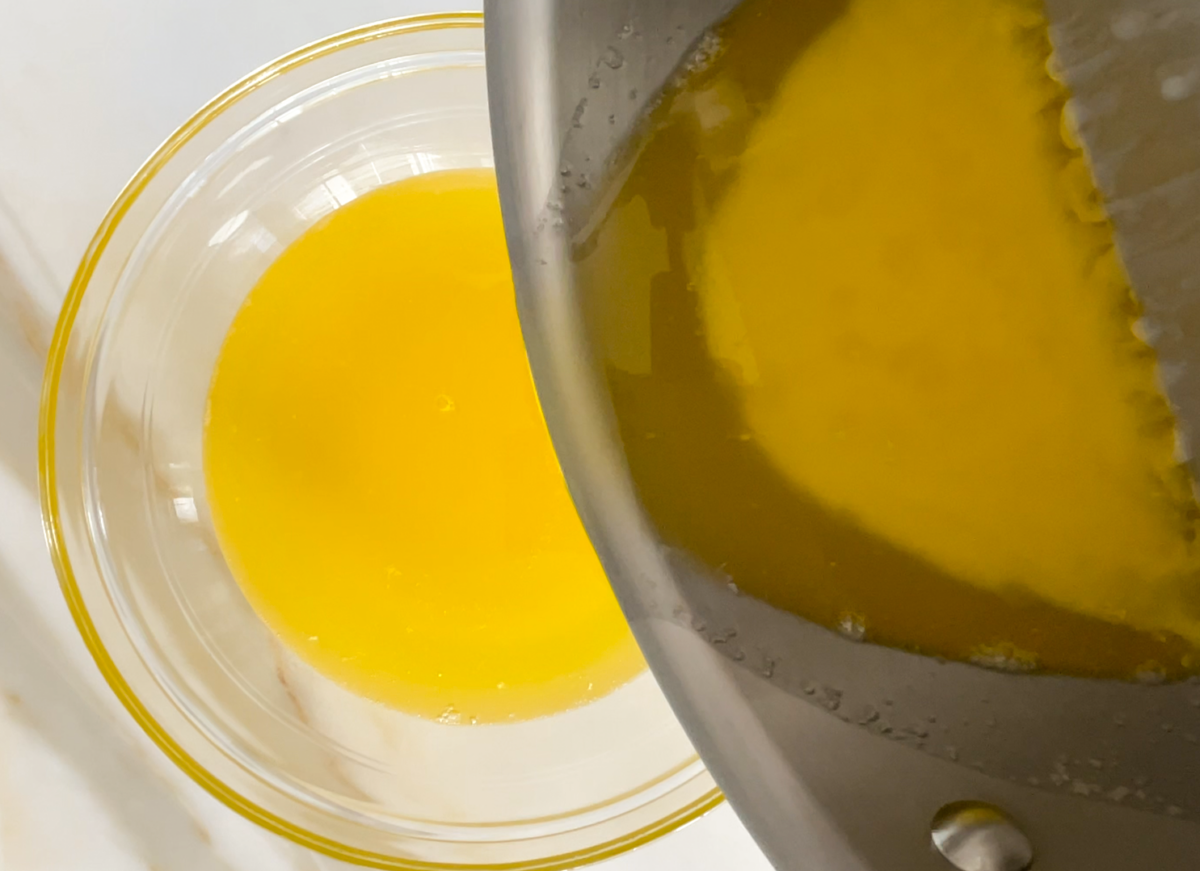
The milk solids settle on the bottom of the pan when using these butters. Simply pour the liquid melted butterfat into a heat proof container. As the pouring gets down to the milk solids, simply stop there. Set aside the milk solids, with the little bit of clear yellow liquid that is left with it, for another use or discard.
To clarify standard butter:
Skimming method
The milk solids will look foamy and float on the surface of the butter. Use a spoon to skim off the white foam, cleaning the spoon of solids each time so it doesn’t carry solids back into the butter. Repeat until all of the milk solids are removed. Pour the liquid butterfat into a heat proof container, leaving behind in the pan any solids that settled at the bottom of the pot.

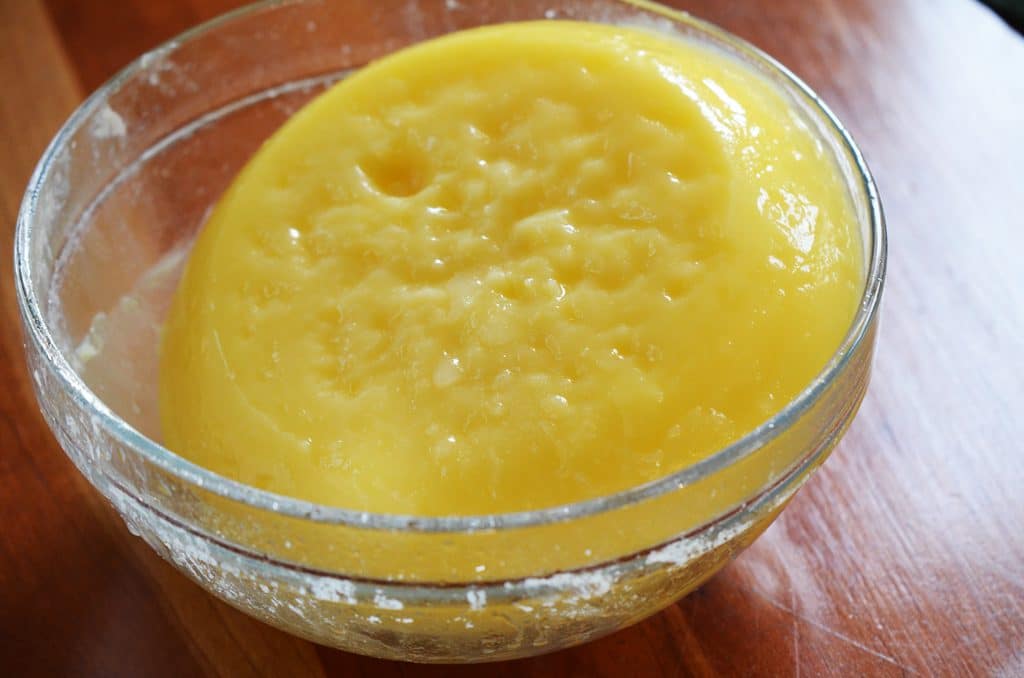
Chill and Rinse method
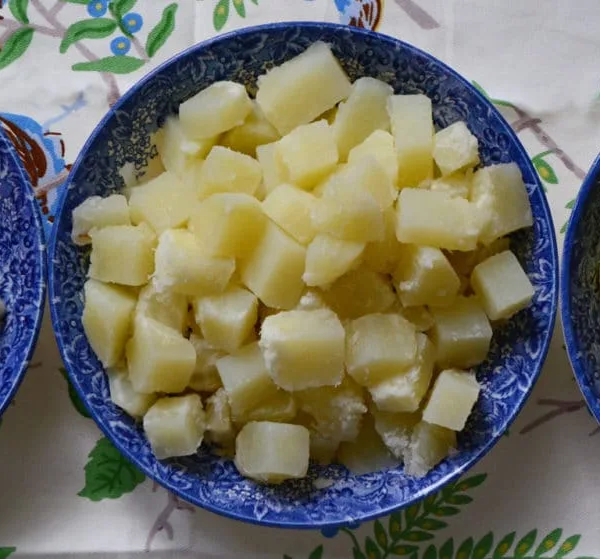
Pour the melted butter, both the butterfat and the milk solids, into a heat proof bowl. Refrigerate until solid. The white milk solids are at the bottom of the bowl and a top layer on the surface of the solid butter. Run hot water over the bottom of the bowl to loosen the solid butter. Quickly rinse the white milk solids away, and the remaining solid butter is clarified. This method is useful for standard butter that otherwise requires a lot of skimming to clarify (as opposed to European butter, which doesn’t require any skimming).
Straining method
Pour the melted butter slowly, so as not to disturb the milk solids, through a strainer such as a coffee filter or fine mesh strainer. It’s possible with a fine mesh strainer that some of the butter solids will flow through, so it is best to line the strainer with paper towel or several layers of cheesecloth. Note that either of those will absorb some of the liquid gold butterfat!
Is clarified butter healthy to eat?
Clarified butter has the same nutrition, calories and fat as butter that is not clarified. Clarified butter is, however, lactose free.
How to cook with clarified butter
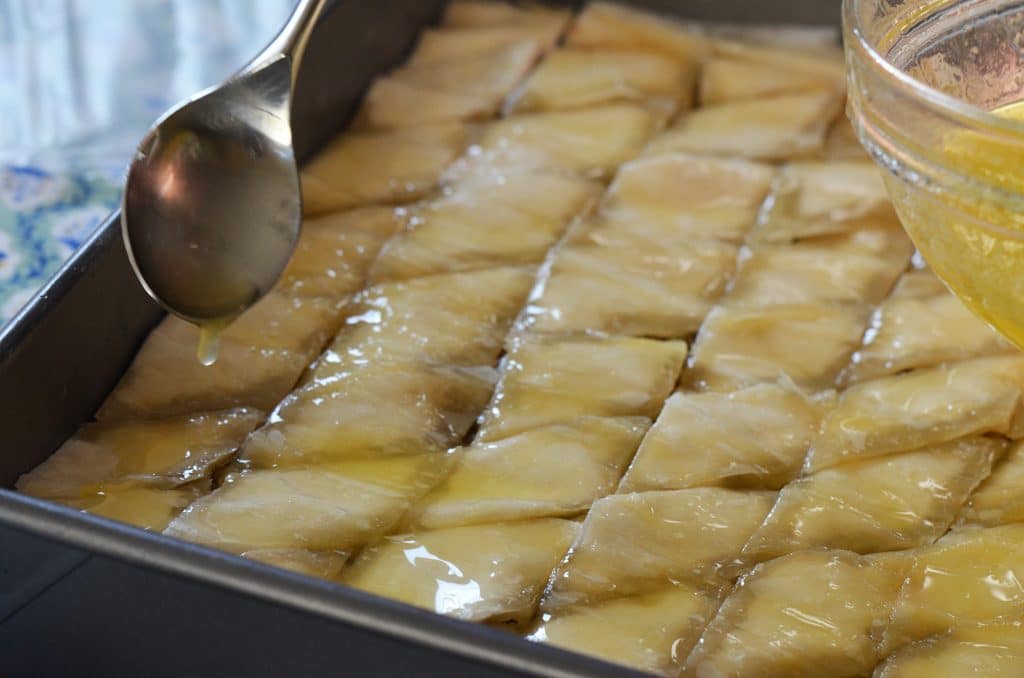
Clarified butter, or “liquid gold,” is an essential ingredient in all kinds of recipes, including those that call for high-heat cooking–and particularly important in Lebanese baking. Professional chefs use clarified butter for all kinds of cooking, but home cooks find this form of butter especially useful for cooking and baking too. Any butter can be clarified, but some butter clarifies far easier than others.
The clear butter has a higher smoke point, which means it will not burn at high temperatures. It is preferred for cooking over high heat, such as pan frying and pan searing.
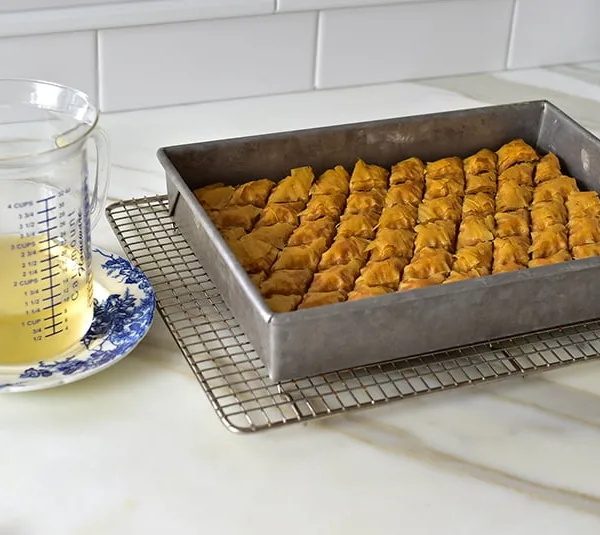
Clarified butter is an essential ingredient in pastries like baklava (Lebanese Baklawa). The reason it’s so important is that the baked pastry is spotless golden brown. If the butter is not clarified, or not clarified well, milk solid specks turn dark and mar the look of the pastry.
Use clarified butter in sauces like hollandaise sauce for eggs benedict.

How to store clarified butter
It enjoys such a long shelf life. Store at room temperature in a cool, dark place in an airtight container such as a jar, for several months. Or store in the refrigerator for a year or beyond. Freeze in a similar way, in an airtight container for a good year.
Recipes using Clarified Butter
Pastry! We wouldn’t bake Lebanese Baklava Recipes with out it.
Cookies! Get the ultimate meltaway texture and pure flavor in Lebanese Ghraybeh.
Rich Bread! Bake enriched Kaak, a favorite with many spice flavors.
How to Clarify Butter
Ingredients
- 1 pound butter, preferably European-style such as Plugra or Kerrygold
Instructions
- Place the butter in a saucepan over the very lowest heat.
- Melt the butter, completely undisturbed, untill fully melted, about 30 minutes at this low temperature. It is essential not to stir or move the saucepan while the butter melts. The goal is to allow the solids to remain at the bottom of the pan.
- If using European butter, carefully and very slowly pour the melted butter from the saucepan into a heat-resistant container or jar. As you get to the bottom of the pan where the solids reside, be extra careful not to allow any of the solids to pour off into the clarified butter container. Set aside the remaining solids for another use, such as dressing steamed or roasted vegetables.
- If using standard butter, use one of these three methods: skim and pour off, chill and rinse, or strain (see notes).
- Store, airtight, in the pantry for at least 3 months, in the refrigerator or freezer for up to a year.
Video
Notes
Nutrition
Nutrition information is automatically calculated, so should only be used as an approximation.


Hi Maureen,
I made the butter ghee as you described.
However, when I used it in my Baklawa, it had black spots on the top of the baklawa. (It still taste good)
Did I do anything wrong?
Thanks for this great article. It helped me to make the best baklawa ever! Yummy!
Hi Regas–the black specks happen when all of the butter solids aren’t fully removed from the clarified butter. The clarified butter must be completely free of any solids; this can take some extra attention to rinsing if you use the solidify-then-rinse solids off method, or pouring off of solids from very slowly melted butter if you use that method.
Would it not be easier to just use ghee instead of clarifying butter at home? Was that what you ended up buying, or was it something else?
Hello there–thank you for commenting! One could certainly use purchased ghee, but making sure that it is butter ghee and not vegetable ghee (which contains trans fats and doesn’t have the right flavor for baklawa). The clarified butter I purchased was not labeled as ghee; it was labeled as clarified butter and sold in the refrigerated cheese section of the grocery store.
Thanks, Maureen. I hadn’t even thought of vegetable ghee as a possibility. Butter ghee or clarified butter it is, then. Happy Holidays to you & yours!
Maureen, I am enjoying your blog. Thanks for sharing your (and your mom’s) technique for clarifying butter. I’ve always been a little on the lazy side when it comes to that step, just melting the butter instead. But it does make a difference. I had not heard about rinsing the disk of chilled butter under warm water. That’s an excellent tip. I’ve made baklava once or twice, with some success. But I don’t do it often. And I once had a spectacular failure. I made a batch of baklava that seemed on the soggy side to me. They never crisped nicely. So, rather stupidly, I put them back in the oven to brown more (this is after they had cooled). Needless to say, I made a huge mess as all the butter re-melted. I had to toss the whole batch! So…I’m looking forward to tomorrow’s post. Cheers and have a wonderful holiday.
Domenica, you are not alone in the baklawa sog. I have had that happen too, and so has Aunt Rita who is the ultimate baklawa pro. Great to hear from you and sending a big hug from Michigan!
Hi, enjoy d reading your blog, i have been making baklava for 30 years or more and have to tell you I just microwave the butter. t works and doesn’t affect flavor or consistency. I use to clarify the butter but when you make 6 trays at a time this is a huge time saver. I also use rose water.
Hi Gail, thanks so much. Do you leave the solids behind or do you pour everything over pastry, solids and liquid butter both?
I’m so excited about what’s coming tomorrow that I just can’t wait to chime in with my “shout out” for Lebanese baklawa. For those who’ve never made this pastry before, the work is all worth it for a piece or two (or three) fresh from the oven. Call me crazy, but I can now walk away from a tray of cold baklawa….however, I will invest the time and energy to prepare a pan to give away, just for to enjoy a sample of fresh, warm baklawa while standing at the kitchen counter and giving thanks for of my Lebanese heritage.
Don’t we just love it, cousin?!
I am so in love with your website – especially the stories of your family and food! I, too, was fortunate enough to be born into a Lebanese family of 8 children – 5 boys and 3 girls. Both my parents (deceased) were Lebanese. I can relate to everything you write about – especially you father. I look forward to every post! Thank you for keeping our heritage alive! Mimi
Beautiful. Thank you so very much! I’m honored!