This post may contain affiliate links. Please read our disclosure policy.
Whipped cream is easy as pie to make yourself! Much easier than pie, actually…one ingredient (cream!) and a few tips result in excellent whipped cream.
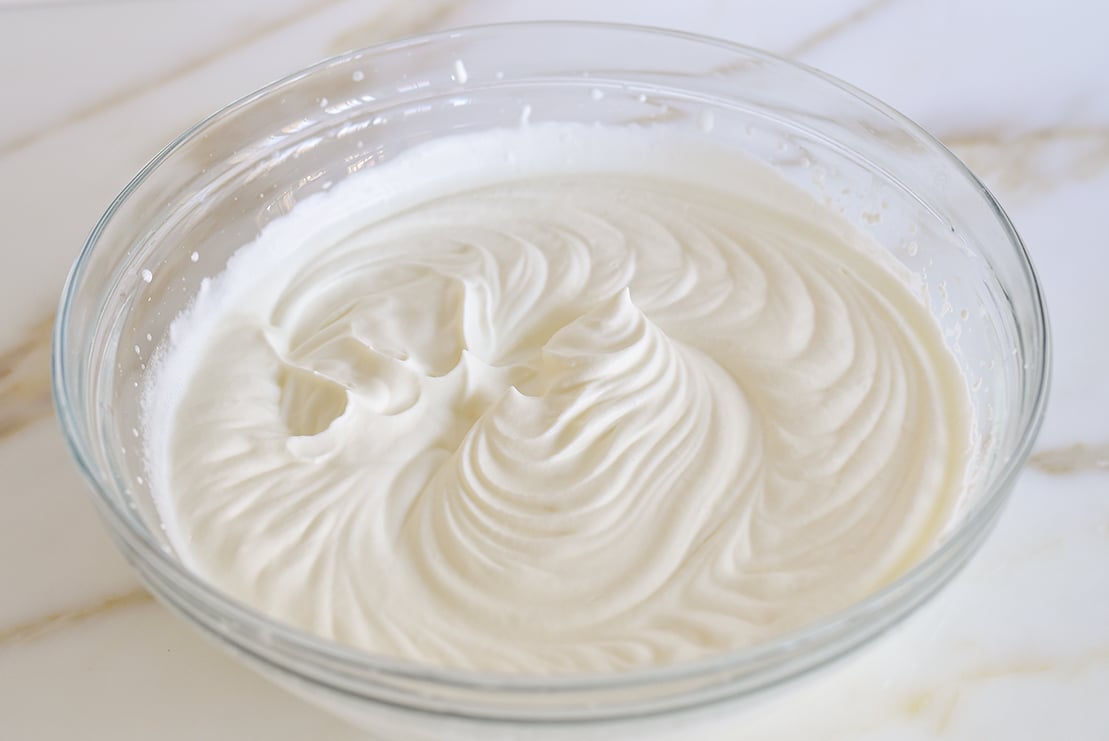
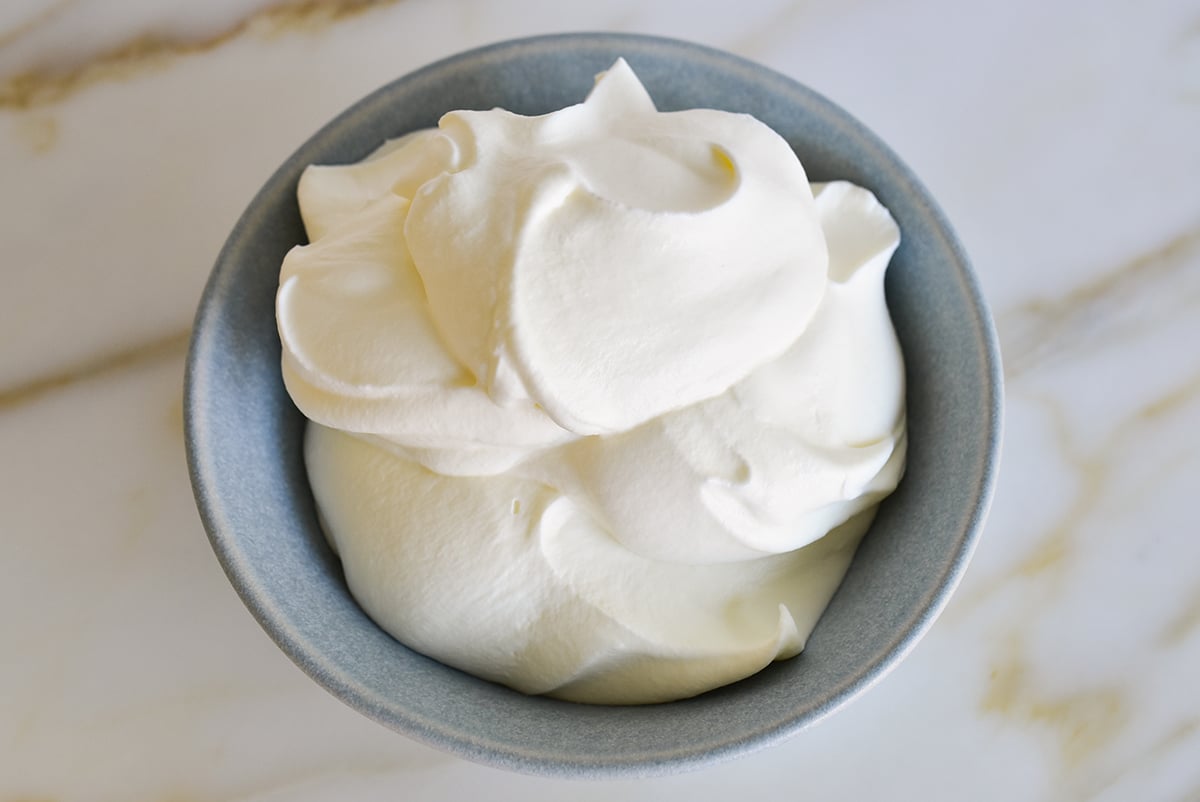
Homemade whipped cream is easy to make and the most delicious whipped cream you can eat. Whipped cream is made of one ingredient: heavy cream. Other flavorings are easy to add and change it up depending on where your whipped cream will land. The “non-dairy whipped topping” of yesteryear is best left there!
We whipped our cold heavy cream by hand with a big balloon whisk in culinary school, which has its advantages: you have more control with the slower whipping process and less likelihood of over-whipping the cream. But a stand mixer, hand mixer, or any electric mixer with a whisk attachment is usually just the ticket, my favorite ticket!, for the fluffiest whipped cream without a sore arm….
Ingredient Notes
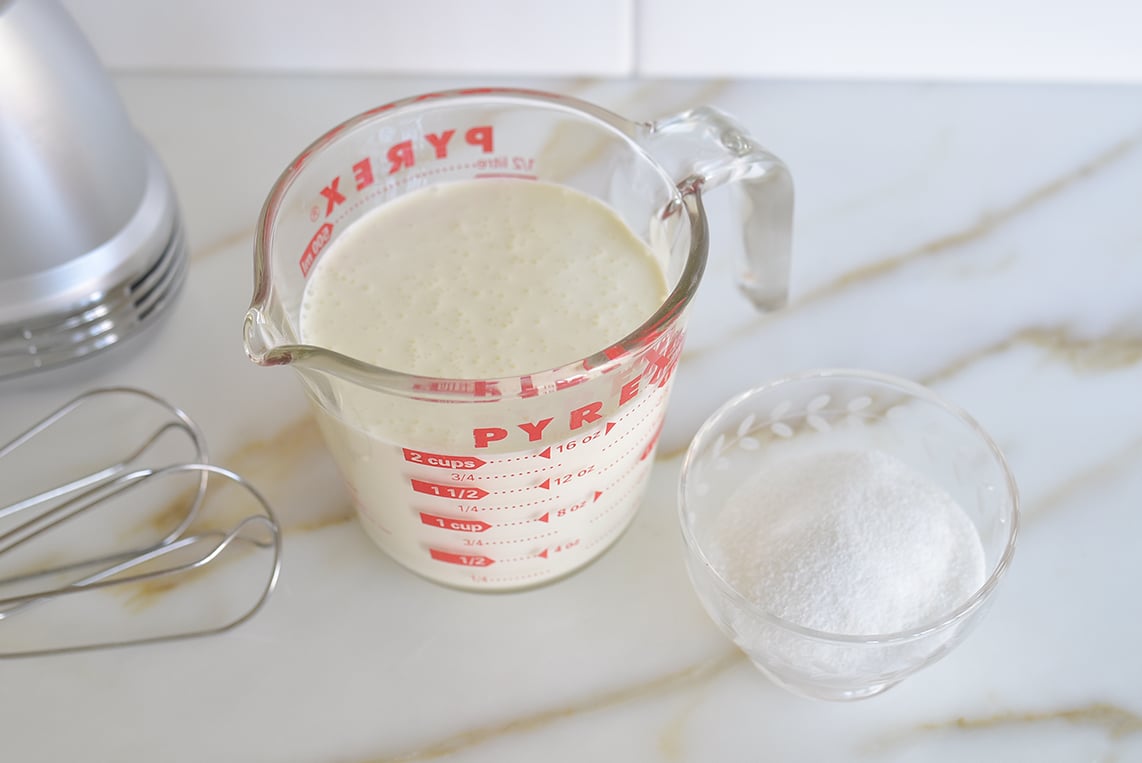
All you really need to make a batch of whipped cream is a carton of heavy cream. That’s it! For best results for homemade whipped cream (which is simply way better than store-bought stuff!) look for “whipping cream,” “heavy cream” or “heavy whipping cream.” Organic heavy whipping cream does not whip as well as standard ultra-pasteurized whipping cream. The organic tends to over-whip too easily and becomes more chunky, refusing to smooth out.
Sweetener, which is optional, adds a lot to the whipped cream. Use granulated sugar or confectioners’ sugar. You can also add vanilla extract, rose water, orange blossom water, or any flavoring you like.
Tips for making whipped cream
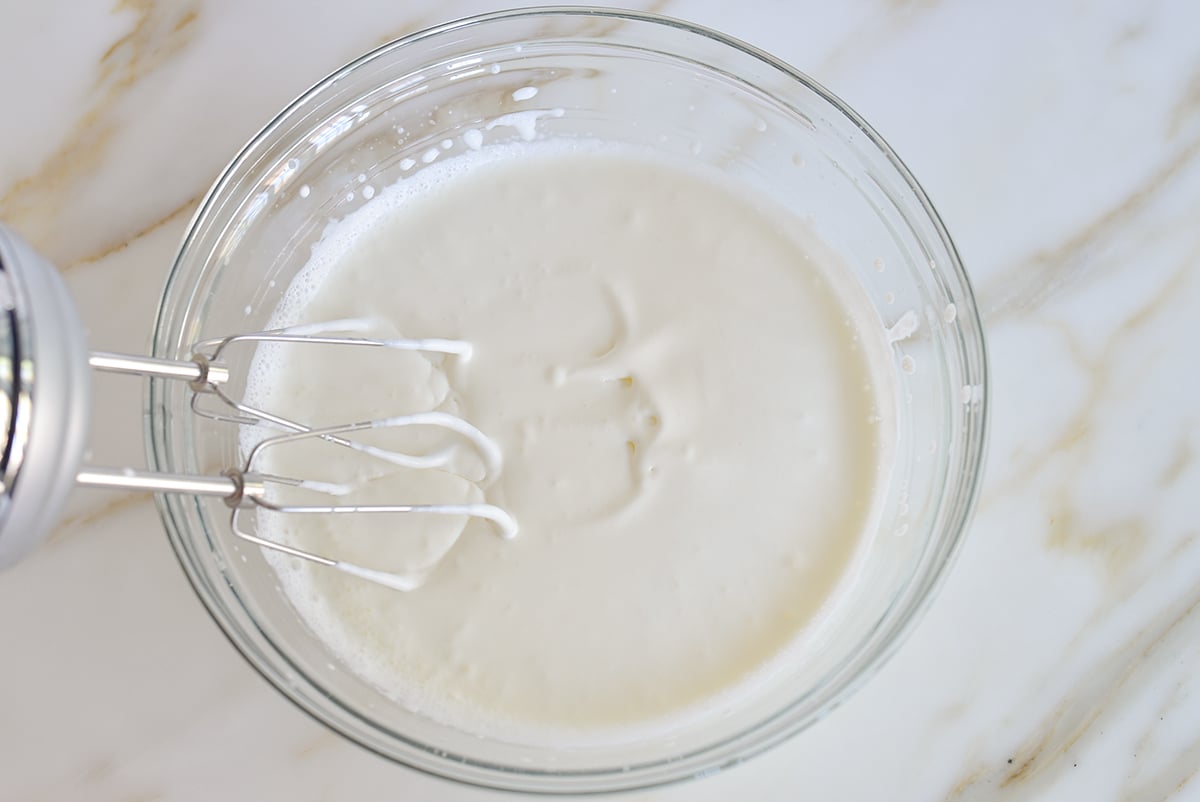
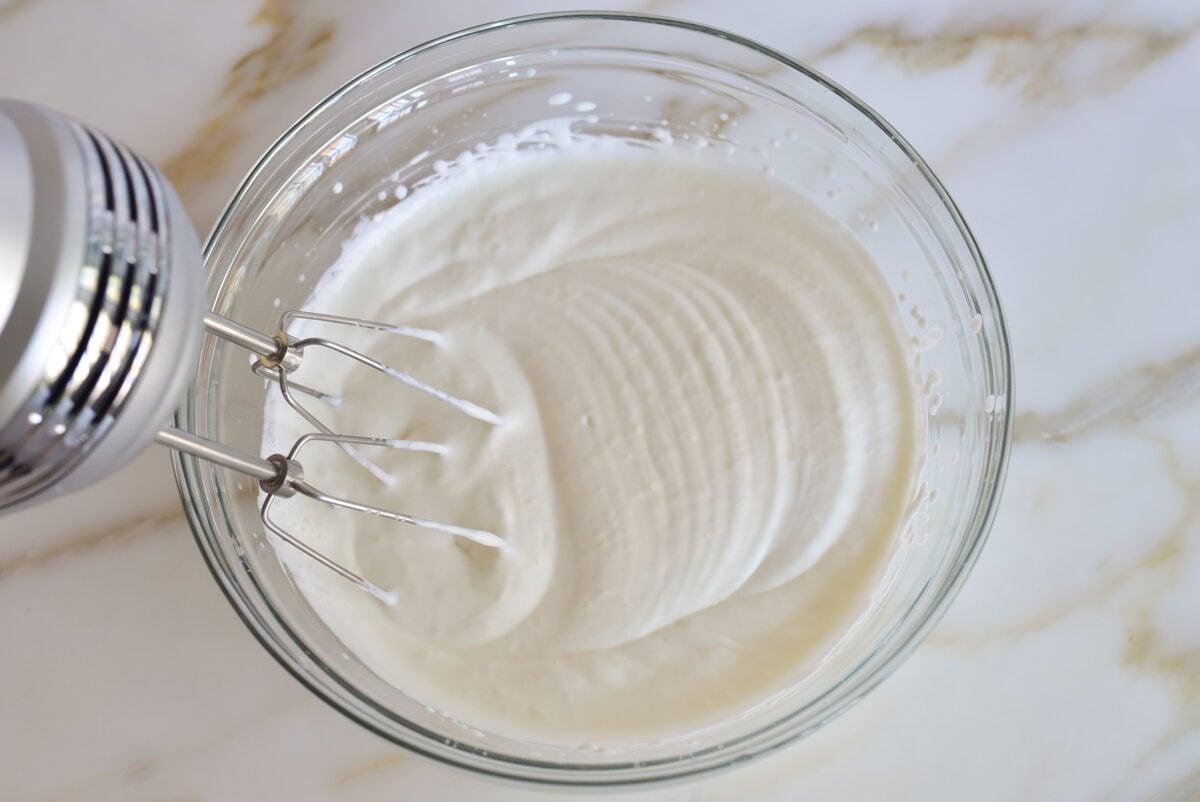
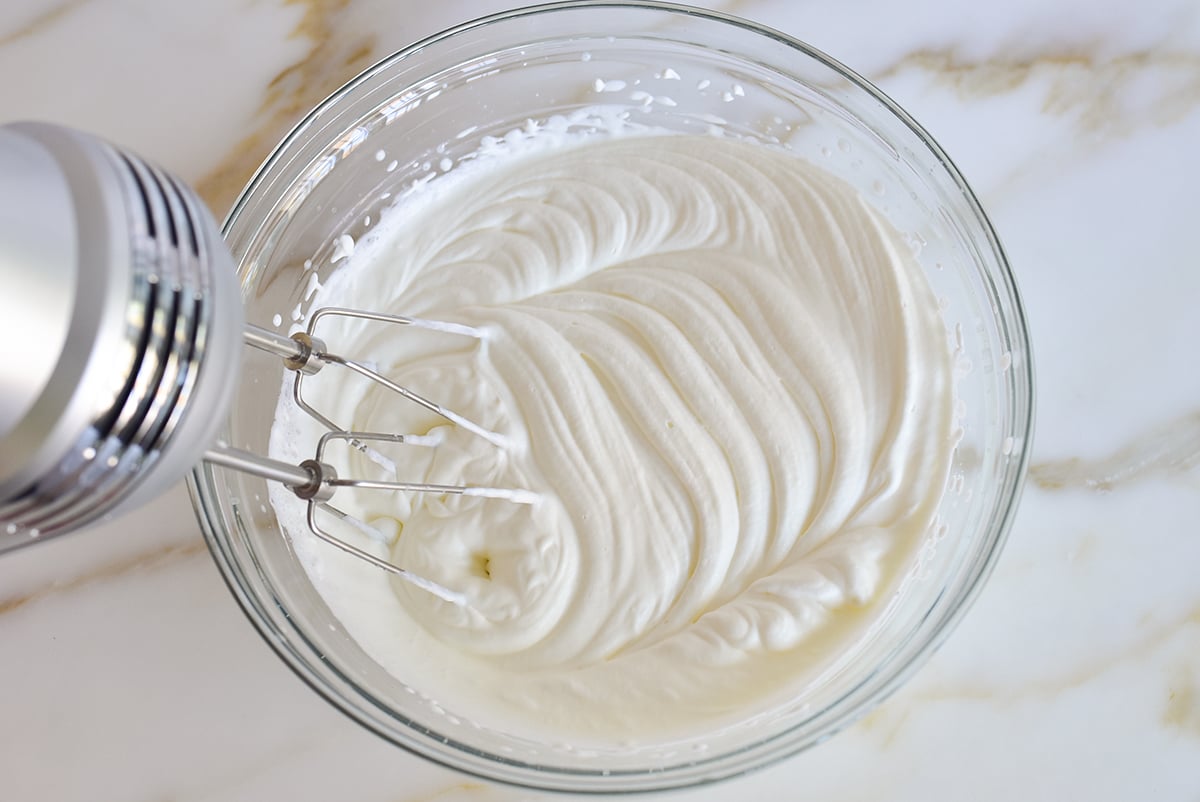
- In the bowl, add the cream and, if using, sweetener. Start beating on low speed and as the cream starts to thicken, increase to medium speed and beat until soft peaks form. Stop and lift the whisk with cream on it to test the thickness, and continue beating until stiff peaks form. This is where it paying close attention is . Be sure to watch the amount of time you’re whipping so as to get the perfect end result.
- Use heavy whipping cream and only heavy whipping cream. Half and half will not whip. Avoid light whipping cream, whole milk, light cream, or any other variety that doesn’t have enough milk fat.
- Everything needs to be cold. Chill the cream right up until just before whipping. You can also chill the bowl (and even the whisk) for added good measure; a metal bowl is best because it holds the cold so well. When you start with cold cream and a chilled bowl, the cream whips up more readily and with greater volume.
- Sweeten whipped cream with one tablespoon of granulated sugar per cup of cream, if you like. Powdered sugar (confectioners’ sugar) dissolves even faster, though ultimately they both perform the same. Other sweeteners like honey, maple syrup, or agave syrup work well too—just lighten these sweeteners with some of the cream stirred into them before adding them to the whipping bowl with the cream before whipping for easier incorporation.
- To flavor the cream, add extract (a teaspoon of vanilla or mint, or a few drops of rose water or orange blossom water) at the start with the sugar before whipping.
- With the mixer, start on low speed until the cream starts to thicken; this avoids spraying the cream while it’s still liquid. As the cream gets thicker and begins to take shape, turn the mixer to medium-high speed. Watch closely so that the cream whips into big fluffy mounds—soft peaks. Stiffer peaks will come very quickly after soft peaks form. This is the moment to take care and stop-and-start so you can avoid over-whipped cream that is on its way to becoming homemade butter.
How to fix over-whipped cream
If you do take the cream too far, indicated by chunkiness that can’t be stirred out, save it by stirring in a tablespoon or so of cold cream to correct and smooth it out.
Make-ahead option
Whipped cream can be made ahead and kept in a glass or plastic airtight container in the refrigerator. It’s best used within a couple of hours, but I’ve seen whipped cream looking great even the next day.
What are the different peak types?
As cream whips, it’s stages are referred to “peaks”: soft peaks, medium peaks, and stiff peaks. Soft peaks barely hold their shape, they flop over when you take the whisk out. Medium peaks hold relatively well, but the tops still slightly curl over. Firm peaks totally hold their upright shape, though eventually these too will fall (unlike meringue).
What to Serve With Homemade Whipped Cream
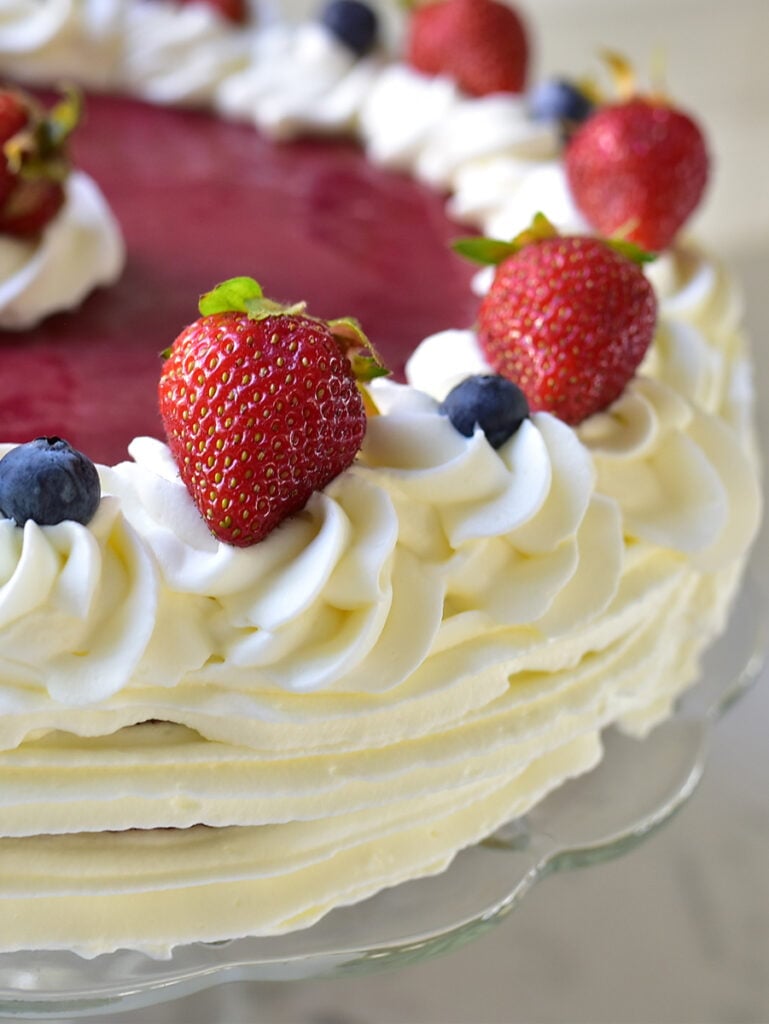
Use this simple whipped cream on any of your favorite desserts. Some of mine are pies of any kind (especially Pecan Pie Bars and Dutch Apple Pie), Olive Oil Brownies with a scoop of ice cream too, a scoop into my Thick Hot Chocolate, homemade eggnog, pumpkin pie, strawberry cake, and perhaps the easiest dessert ever: a dollop of homemade whipped cream on a cup of fresh fruit!
FAQs
Piping will work with whipped cream as long as it has been beaten to stiff peaks. Stabilized whipped cream which includes dissolved gelatin (add it at the start of whipping), is the best whipped cream for piping because it holds its shape so well. Using a piping bag lets you create decorative patterns in different ways, and is a fun way to elevate your desserts. Make sure you squeeze all of the cream towards the tip end of the bag so as to get rid of air bubbles before you start piping.
It accepts nearly any sweetener you can think of or have on hand. Granulated sugar, sifted confectioners’ sugar, brown sugar, maple syrup, agave, and honey are all good options. Flavoring variations are vanilla extract, vanilla bean paste, a dash of cocoa powder, almond extract, espresso powder, orange extract, or orange blossom water and/or rose water.
It will still be good to use the next day if you store it in an airtight container in the refrigerator.
Freezing doesn’t have the same light and airy quality as freshly whipped. Because it is so easy to make, it’s best to make it when you need it than it is to make ahead and freeze it. You can easily freeze heavy whipping cream and use that, thawed, to make it.
Depending on your recipe, homemade whipped cream is almost always a fine replacement for cool whip in recipes.

Whipped Cream Recipe
Ingredients
- 1 cup heavy cream, cold
- 1 tablespoon sugar, granulated or confectioners', optional
Instructions
- In a cold mixing bowl, add the cream and, if using, the sugar. Start beating on low speed.
- As the cream starts to thicken, increase to medium speed and beat until soft peaks form, about 2 minutes.
- Stop and lift the whisk with cream on it to test the thickness, and continue beating for 30 second to 1 minute to reach desired thickness (typically stiff peaks are best). Peaks that fall and dissolve are soft peaks; peaks that stand but begin to fall are medium peaks; peaks that
Nutrition
Nutrition information is automatically calculated, so should only be used as an approximation.

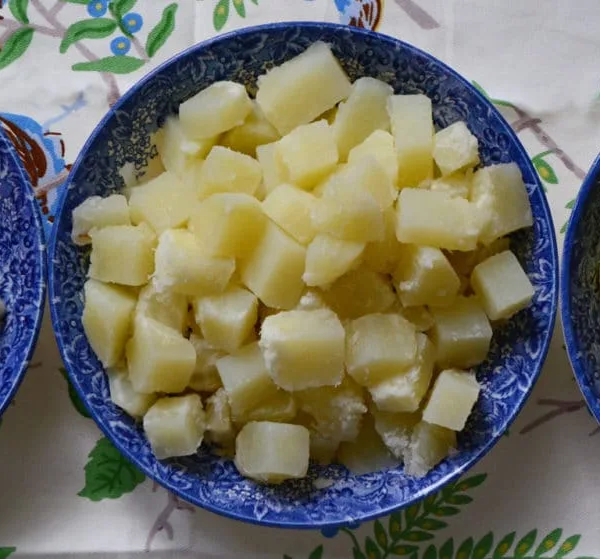


We had friends over for dinner and I wanted to make a light and tasty dessert with what I had on hand. I decided to toss together some strawberries, raspberries and blueberries with some warm lemon curd and coconut. I baked the mixture then served it warm with homemade whipped cream. This dessert was wonderful – light, tart, sweet, and creamy. It was great on it’s own or it would be wonderful over pound cake too. It was a big hit with all of us, especially my daughter, who LOVED it!
Hi Maureen- I think you ran by me the other day in Weque. Looking forward to seeing you!
See you soon!
There are no substitutes for fresh whipped cream. None!
Actually, fresh coconut cream makes excellent dairy free whipped cream ;D