This post may contain affiliate links. Please read our disclosure policy.
Fluffy bakery pita or your own homemade pita are the perfect base for Pita Veggie Melts.

My mom was truly tickled when she “discovered” the incredible versatility of pita, employing the bread as a base for all kinds of toppings. She loved a pita-pizza for her kids, but for herself, a “sand dollar”: open-faced pita half topped with colorful vegetables and melty cheese. I believe I recall her dubbing this elegant and serving at one of her many beautiful luncheons. Which reminds me that I’d love to bring the luncheon back into style here. Not brunch. Luncheon.
And I will serve sand dollars for their elegance and flavor but also because this treat of a treat is so SO simple. Yet there are a few must-do elements to keep in mind.
The Bread.
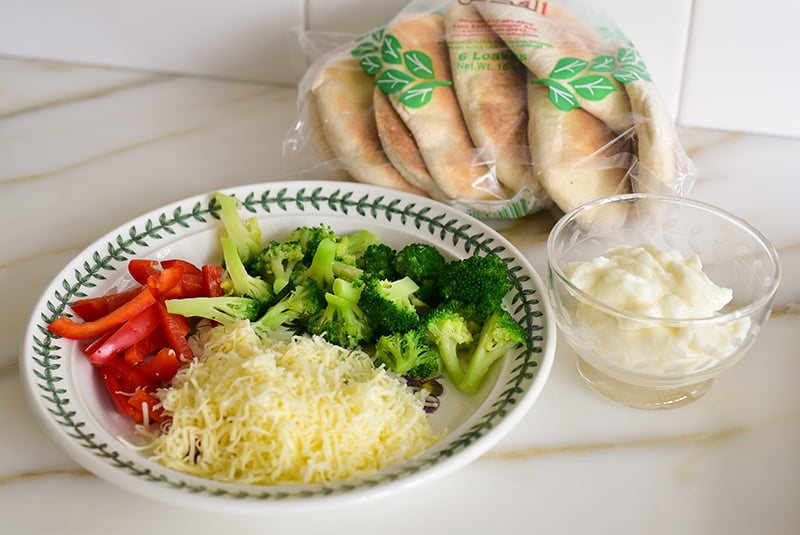
We are devoted to the thin-style pita that is soft and thin enough to fold and scoop up bites from the plate. This is quintessential Lebanese eating.
Yet this holy grail of pita bread is far less available in most places around this big world than the fluffier, thicker pita.
Which is just what’s called for here: fluffy pita lends the necessary sturdiness needed to hold up the toppings and allow the little round to be picked up and eaten by hand.
Fluffy pita is widely available and also the happy result of homemade pita. Try my pita bread recipe here.
The Veggies.
The pita is your easy canvas for your vegetable favorites. I love the broccoli-red pepper combo here for both its flavor and beauty. In any case, most vegetables that would be used here should be cooked, however gently, first. We don’t want crunch from the vegetables; we want them easy to bite into.
To poach the broccoli, use salted water and boil just briefly so the florets don’t disintegrate as they want to do quickly when they’re cooked.

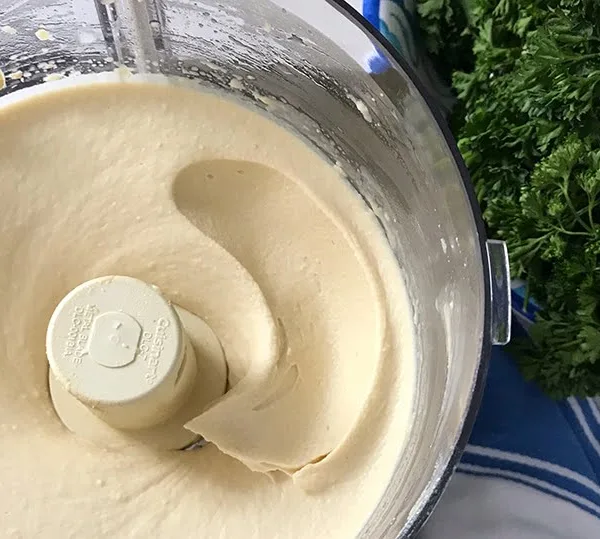
The Toum.
Mom did not have toum as a staple, nor was it handy to pick some up as it is now (try Whole Foods). That’s too bad because this element of the Pita Veggie Melt takes the flavor next level! Toum is a garlic toast’s best friend, and this Veggie Melt is essentially pita garlic toast with toppings. And now my best friend too.

Substitutions and more.
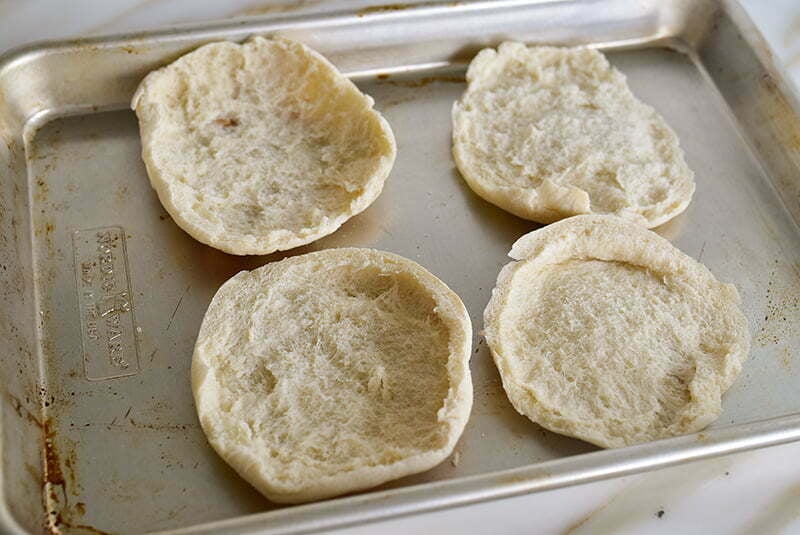
No pita? Try English Muffins or pretzel buns.
No toum? Rub the bread with a cut garlic clove. Or mince garlic, stir that into some butter, and spread. Hate garlic? Go for simple brushing of olive oil or butter.
Make ahead. Bake the melts and then simply reheat them when you’re ready to serve. Always let them sit for a few minutes so they can be picked up by hand.

Pita Veggie Melts
Ingredients
- 2 small or medium fluffy pitas, pulled apart into halves
- 1/2 cup toum garlic sauce
- 1/2 teaspoon kosher salt
- 1 cup or 16 small broccoli florets, steamed or boiled
- 1/2 small red bell pepper, cut into 16 small slivers
- 1 cup finely shredded mozzarella
Instructions
- Place the pita halves on a sheet pan, rough side facing up. Spread the toum evenly on top of each half and sprinkle with salt.
- Arrange the broccoli florets and pepper slivers on top of the toum. Pile ¼ cup of the mozzarella in the center of each pita.
- Heat the broiler and place the sheet pan under the broiler.Keep a close eye on them, broiling until the cheese melts, about 3 minutes. Allow the pitas to cool for a few minutes before serving, warm.
Nutrition information is automatically calculated, so should only be used as an approximation.